The Art Of Plaster Casting And Its Many Forms
- WR-AP
- Nov 30, 2021
- 5 min read
Updated: Dec 18, 2023
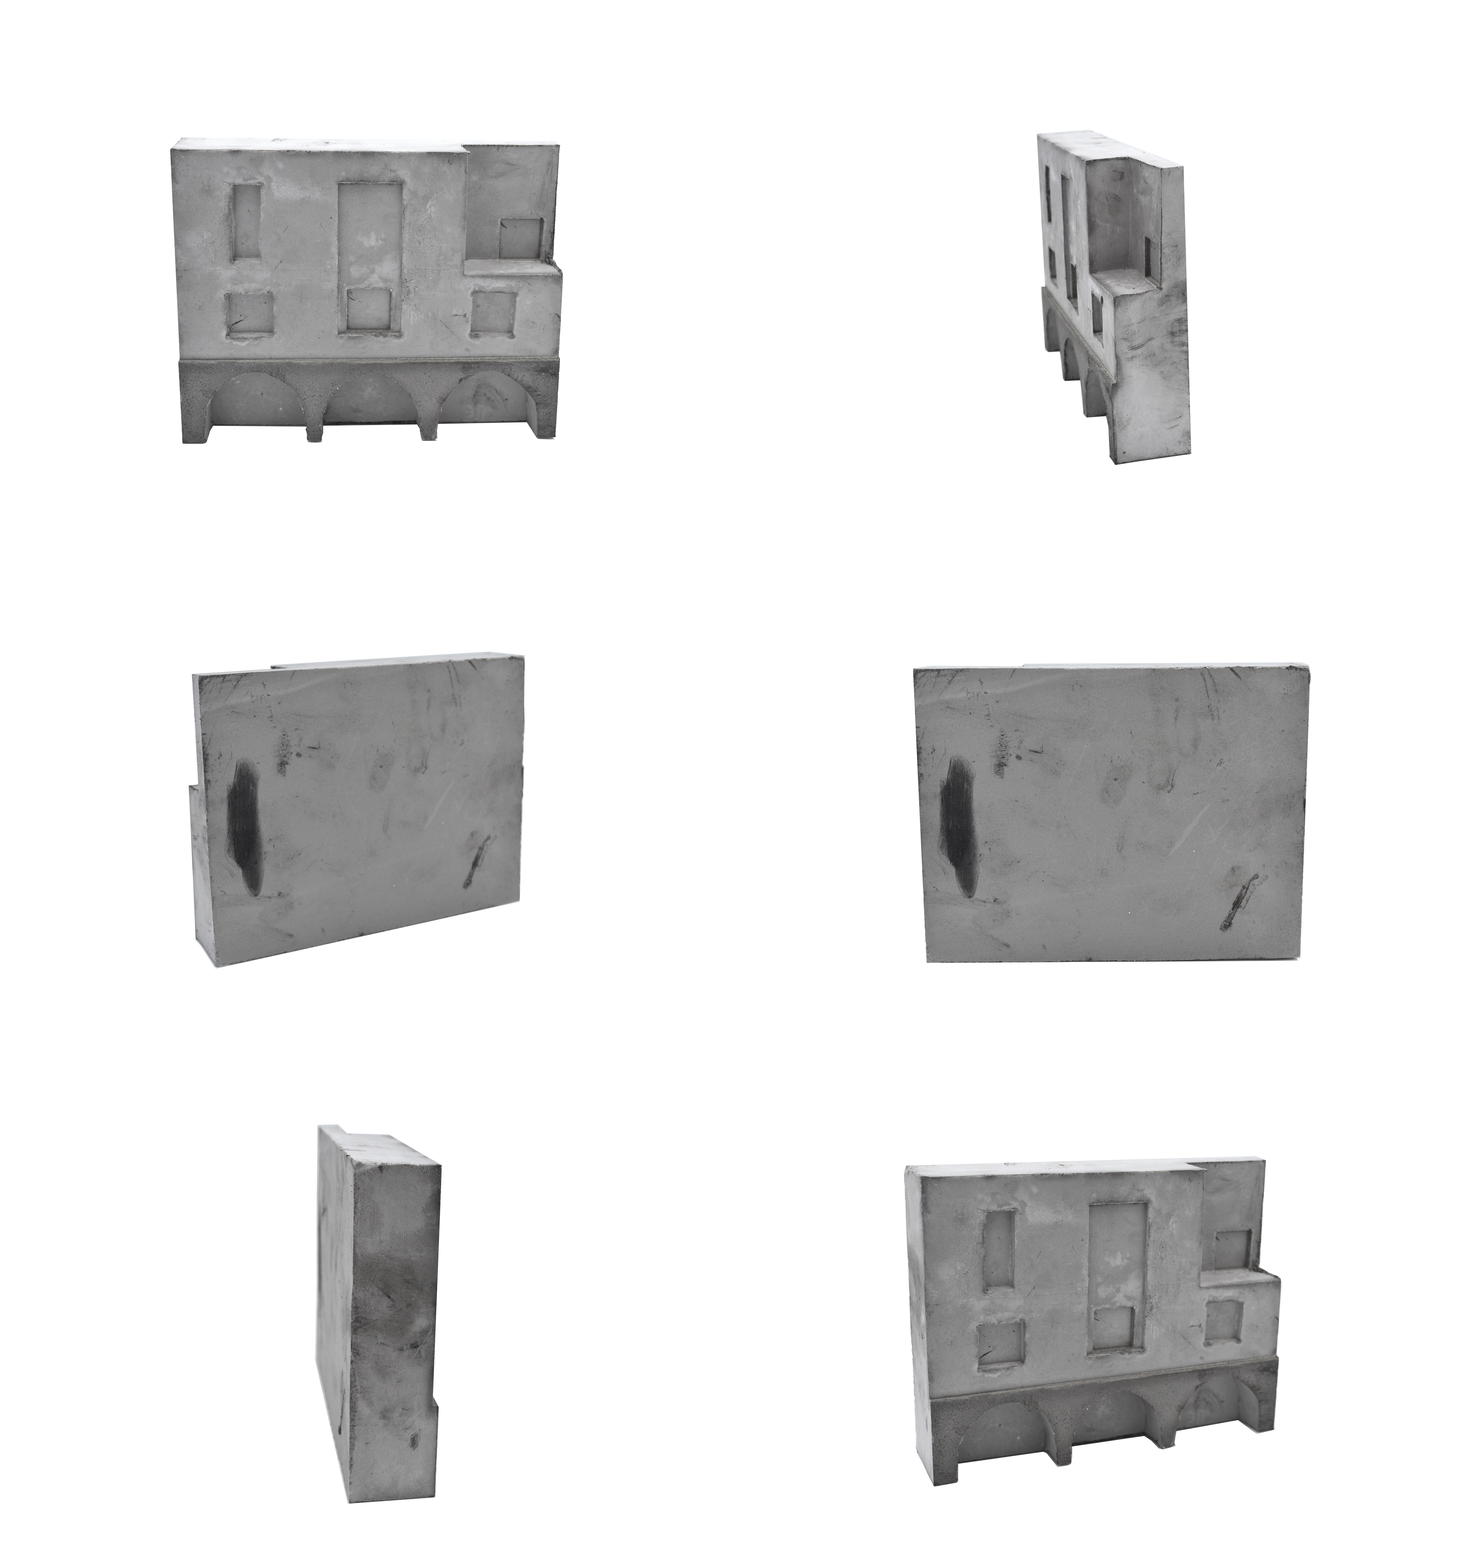
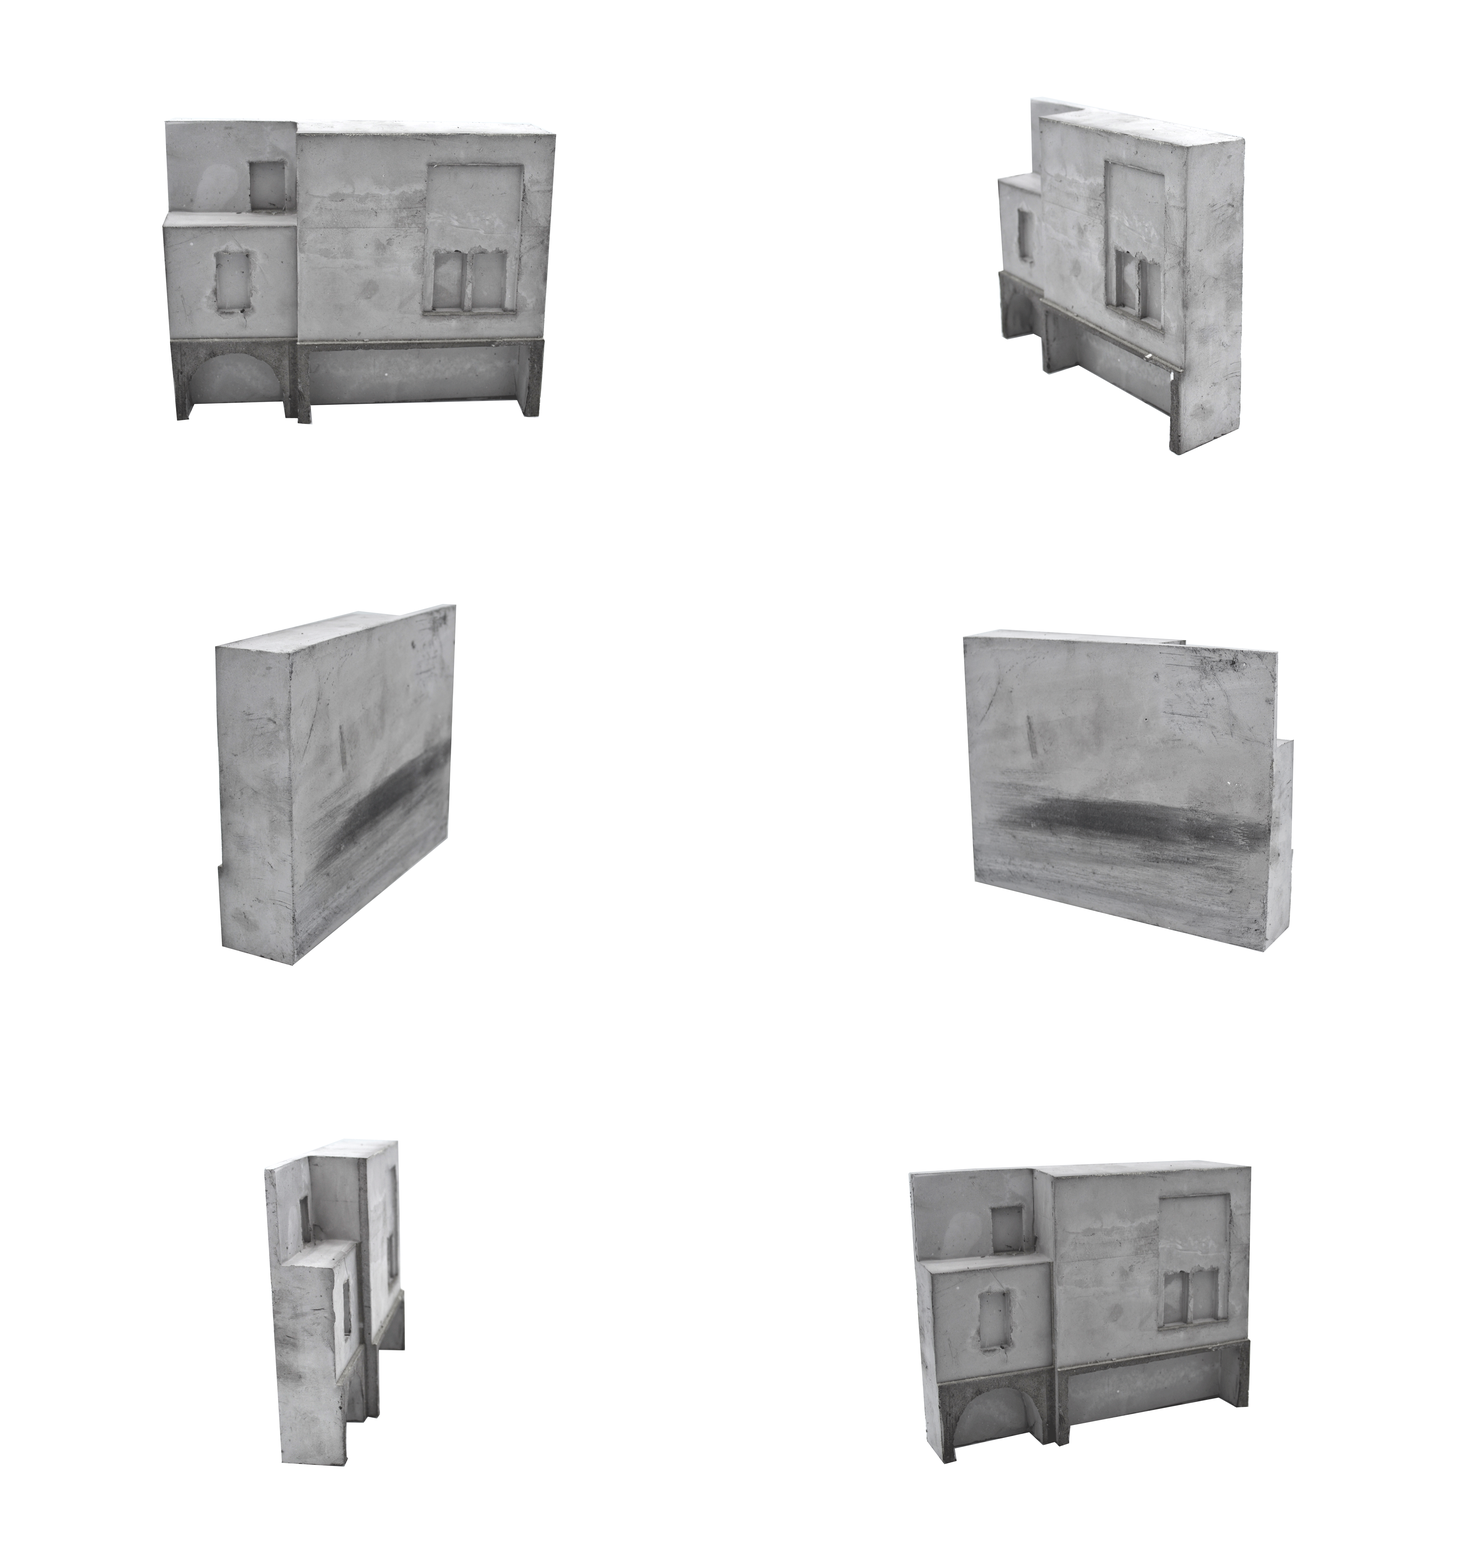
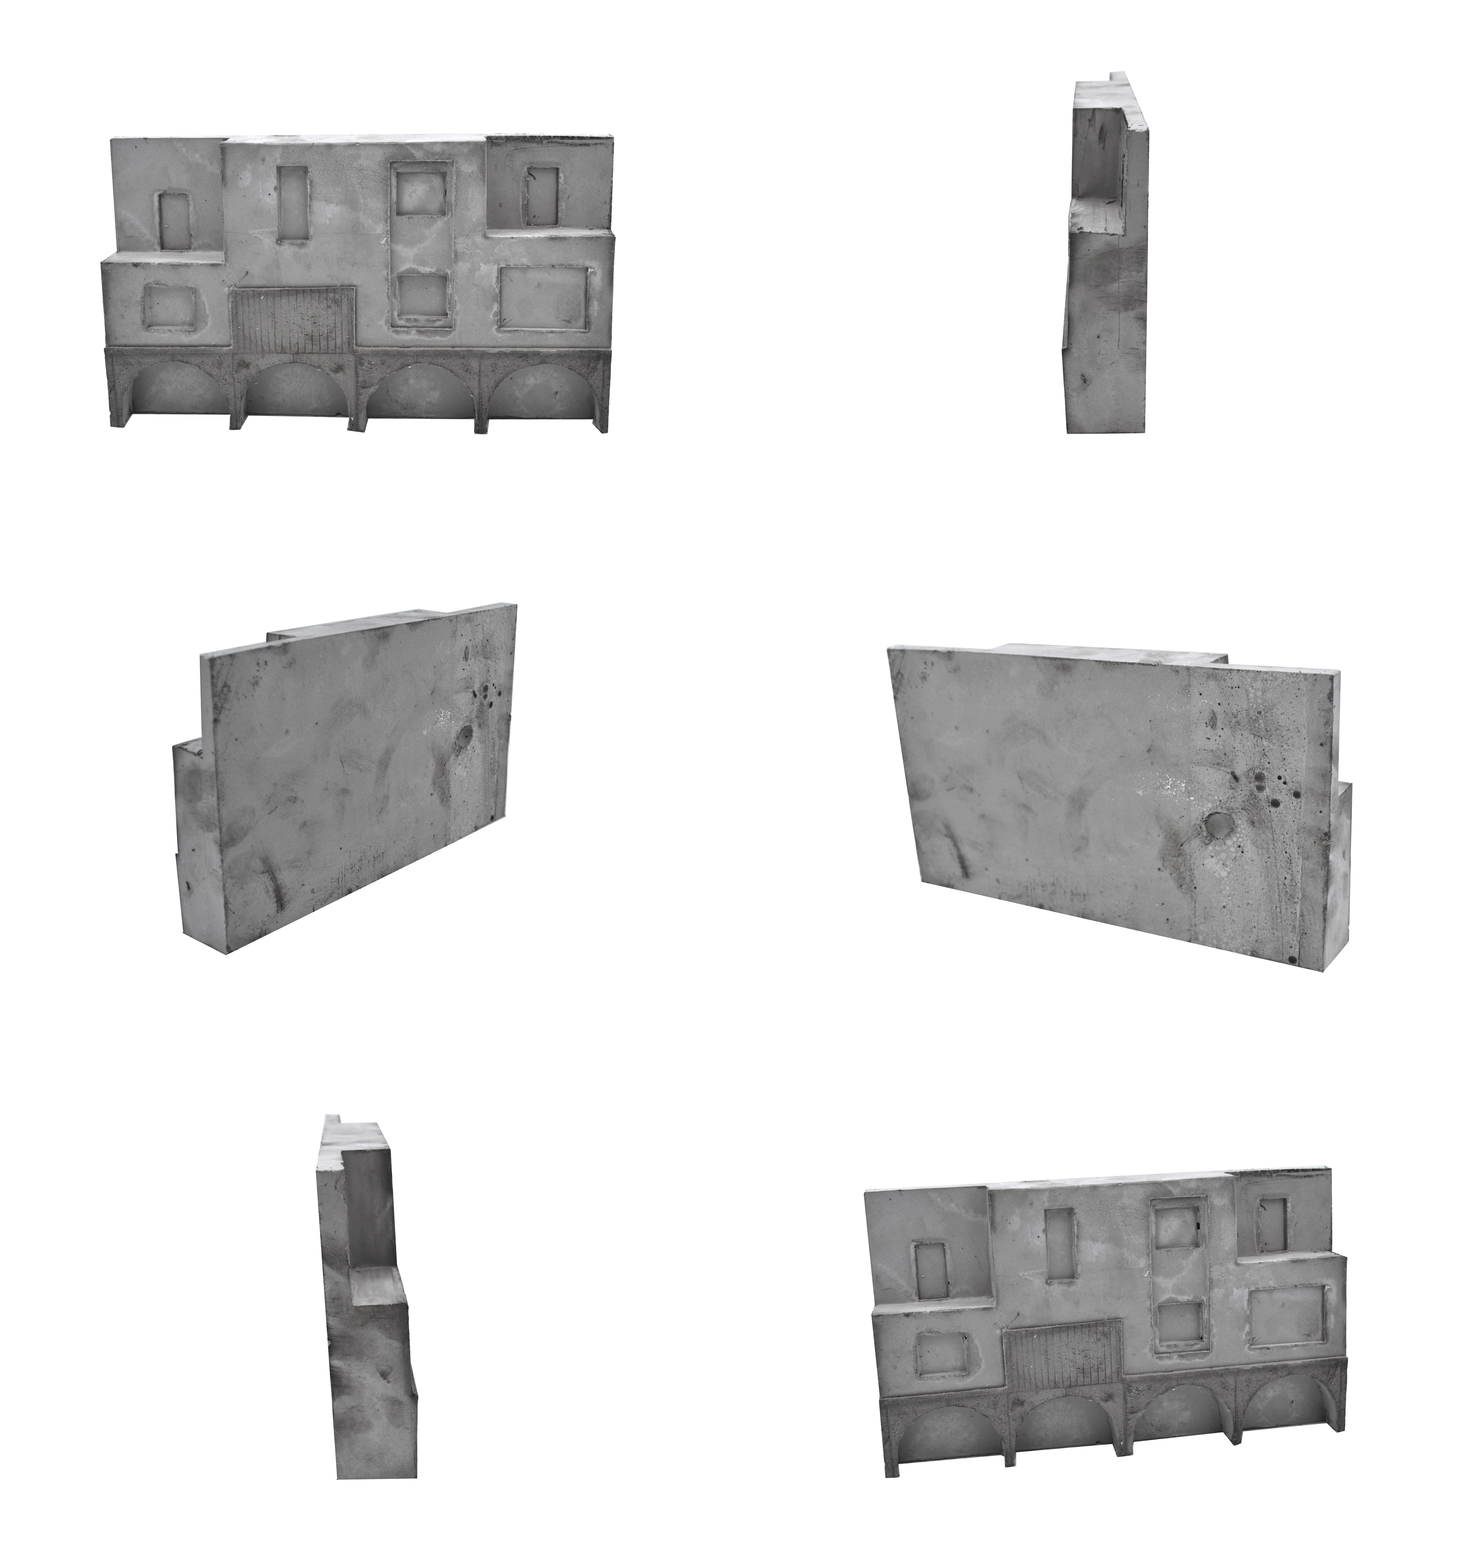
The art of plaster casting is not an easy subject to put into written word - the multiple possibilities and unique requirements of any individual project potentially present as many multiple alternative possibilities. However, there are a number of fundamental techniques that can be taught; which can represent a starting point for anyone willing to embark on the journey of casting. My aim is to inform and illustrate the principle techniques and process in plaster casting, particularly in the field of model making in architecture. I have learnt many of the techniques and principles predominantly during my 5 year studies in architecture school and I hope that you will find the creative scope that mould making and casting offers, as exciting and fulfilling as I have and do.

What is plaster?
Plaster is essentially calcined gypsum, which is a type of limestone. The way it is made is the gypsum is broken down and is heated between 250 and 350 degrees centigrade, then at that point the chemical composition of the gypsum changes and is ground into a powder - plaster. When the water is added to the plaster, the material - which is always hungry for water - reforms itself back into gypsum - the cast.
What is plaster used for?
The production of plaster casts has ancient origins and was originally associated to the techniques of sculpture. Historically, plaster has been used for casting from life or death masks, for architectural decorations (and later architectural modelling) and as a mould material for casting bronze or porcelain. There is even evidence of plaster being used as a building material over 9000 years ago. Neolithic houses at Any Hureyna in Syria have plastered floors and at shrines in Neolithic houses at Catal Huyak in Anatolia walls are decorated with plaster reliefs.

In todays art an architectural schools plaster casts have become ubiquitous which is no surprise as plaster still remains the oldest and most durable artists material. In this particular blog I will focus on explaining the process and techniques required when using plaster for making architectural models.
To make a mould
The making of the mould is the most complex part of the whole process of plaster casting and as such it requires careful thought before embarking on it. In essence the mould represents various parts, which when fit together, make up the negative volume of the building or fragment you want to model. This is the most important part and making sure that anything you model physically is the inverted part of the building - be it an opening, window details, stairs etc. It is important to note that plaster, unlike stone, can chip easily even in its hard form therefore, when choosing the scale and level of detail you want to show with your model you must spend time carefully studying the chosen subject in order to determine the most effective scale for modelling it in plaster.
Moulds which are used for architectural modelling are usually made from foam board, glue and tape. There are other materials which can be used such as plywood and plastic resin, however foam board still remains the most effective as it is easy to create the shape you desire as well as not hinder or stick to the plaster. Although, foam board does not stick to plaster it sometimes can leave a mark on the model, to avoid this the internal side of the foam board used for the model should be lined with plastic tape which will ensure that no water penetrates the foam board and it will leave a smooth and glossy finish.

Plaster in its liquid form is a heavy material! As such when making bigger model casts a certain degree of reinforcement will be required around the mould in order to stop the foam board bending and ruining the shape of the model. Typically 5-10mm pieces of plywood (or any other wood) can be clamped tightly together around the mould to ensure no bending occurs.
Watch the full process in our reels here!
Speed in art is not an added value!
As mentioned earlier the mould is the most important part of the process of plaster casting as such it requires time! When making the mould take your time to carefully cut out out each piece you require for your mould. When putting the mould together careful consideration must be paid that there are no air gaps as the plaster can run through them. A good mould - depending on its size - can take up to 1 to 3 days. If you rush your mould you will always, and I really mean always, get either a leak or bending, which not only wastes time but also a lot of material! Good reinforcement and time will unsure that the mould doesn’t leak and you will have a sharp and precise model.
Pouring the cast
This is the fun bit. After you have spent 3 long days of cutting, plastic lining and reinforcing you are finally ready to pour your plaster. However, as when making the mould, the making of the cast positive must be done with equal precision for the best result. When making the plaster mix there are two ways in deciding how much water and plaster to use - the 2 (plaster):1(water) ratio and the ‘by eye’ ratio. If you want true precision you must calculate the volume of the negative space with your mould which will show you how much water you need into which you will then add double of that quantity in plaster. However, this can be tricky to calculate especially if you have numerous reliefs such as windows, doors and voids and you would most likely end up making a smaller mix than what you need. To avoid this you can use the ‘by eye’ method, this still uses the 2:1 ratio for plaster and water and you use the basic volume of your model plus a little more in order to make sure you have mix for the pour.

Once you have all your plaster in the water you begin to mix it slowly - this begins to saturate the plaster but it does not dissolve it. When you look in the bowl there shouldn’t be any little films of water, it should full, which is when you dip your hand into the bottom of the bowl and you begin to agitate and mix it from the bottom. You will know the mix is ready when it has reached milkshake consistency if its still too runny or too thick you can either add more plaster or water. You then pour the plaster inside the empty void - the impression of the mould. Once poured you need to leave it to the side for 45 minutes until it is completely hard and has gone through he chemical reaction of heating up and cooling back down. Once that has happened you are ready to carefully remove the mould slowly to avoid any chipping, and - voila!
The use of Plaster Casts Today
Plaster casts have, in our modern world and historically, been used for a wide range of purposes - in museums, sculptures, historic houses and academies and schools of art. Depending on its final destination the cast will have different and unique requirements - which is what makes it such versatile material. The use of plaster casting in architectural models is used as a reference for teaching, presenting and understanding a given project. A plaster model can provide a solid representation of the building and truly enrich the project. Above all plaster casting is a craftsmanship that our current digitalising world is posing a real threat to as well as the beauty and skill of the handmade. Being a craftsman is a mental condition that one achieves only through years of dedicated training - a lot like the profession we call architecture.
TOP TIP: The pigment can stain your clothes so don't forget to cover up!

This blog was written by Jo, one of our architectural assistants. Jo has recently completed her masters at Kingston University and strives to use architecture to implement social change and development. You can read more about Jo here.


Comments